14ers.com | AllTrails | Virtual Sherpa
Total Distance: 7.41 miles | Total Elevation: 3,599 feet | Total Time: 6hrs 4m
The Kelso Ridge Route
The Kelso Ridge was my first class three route. I had intentially went with the Kelso Ridge because several forums say it is one of the easiest class three routes up a fourteener. I had reviewed several route reviews to get a good understanding of what I would be up against. I had read a report from the week prior of the route saying it was roughly 80-90% summer conditions. With that information, I set the date and left early in the morning to ensure I would get a parking spot at the upper trailhead.
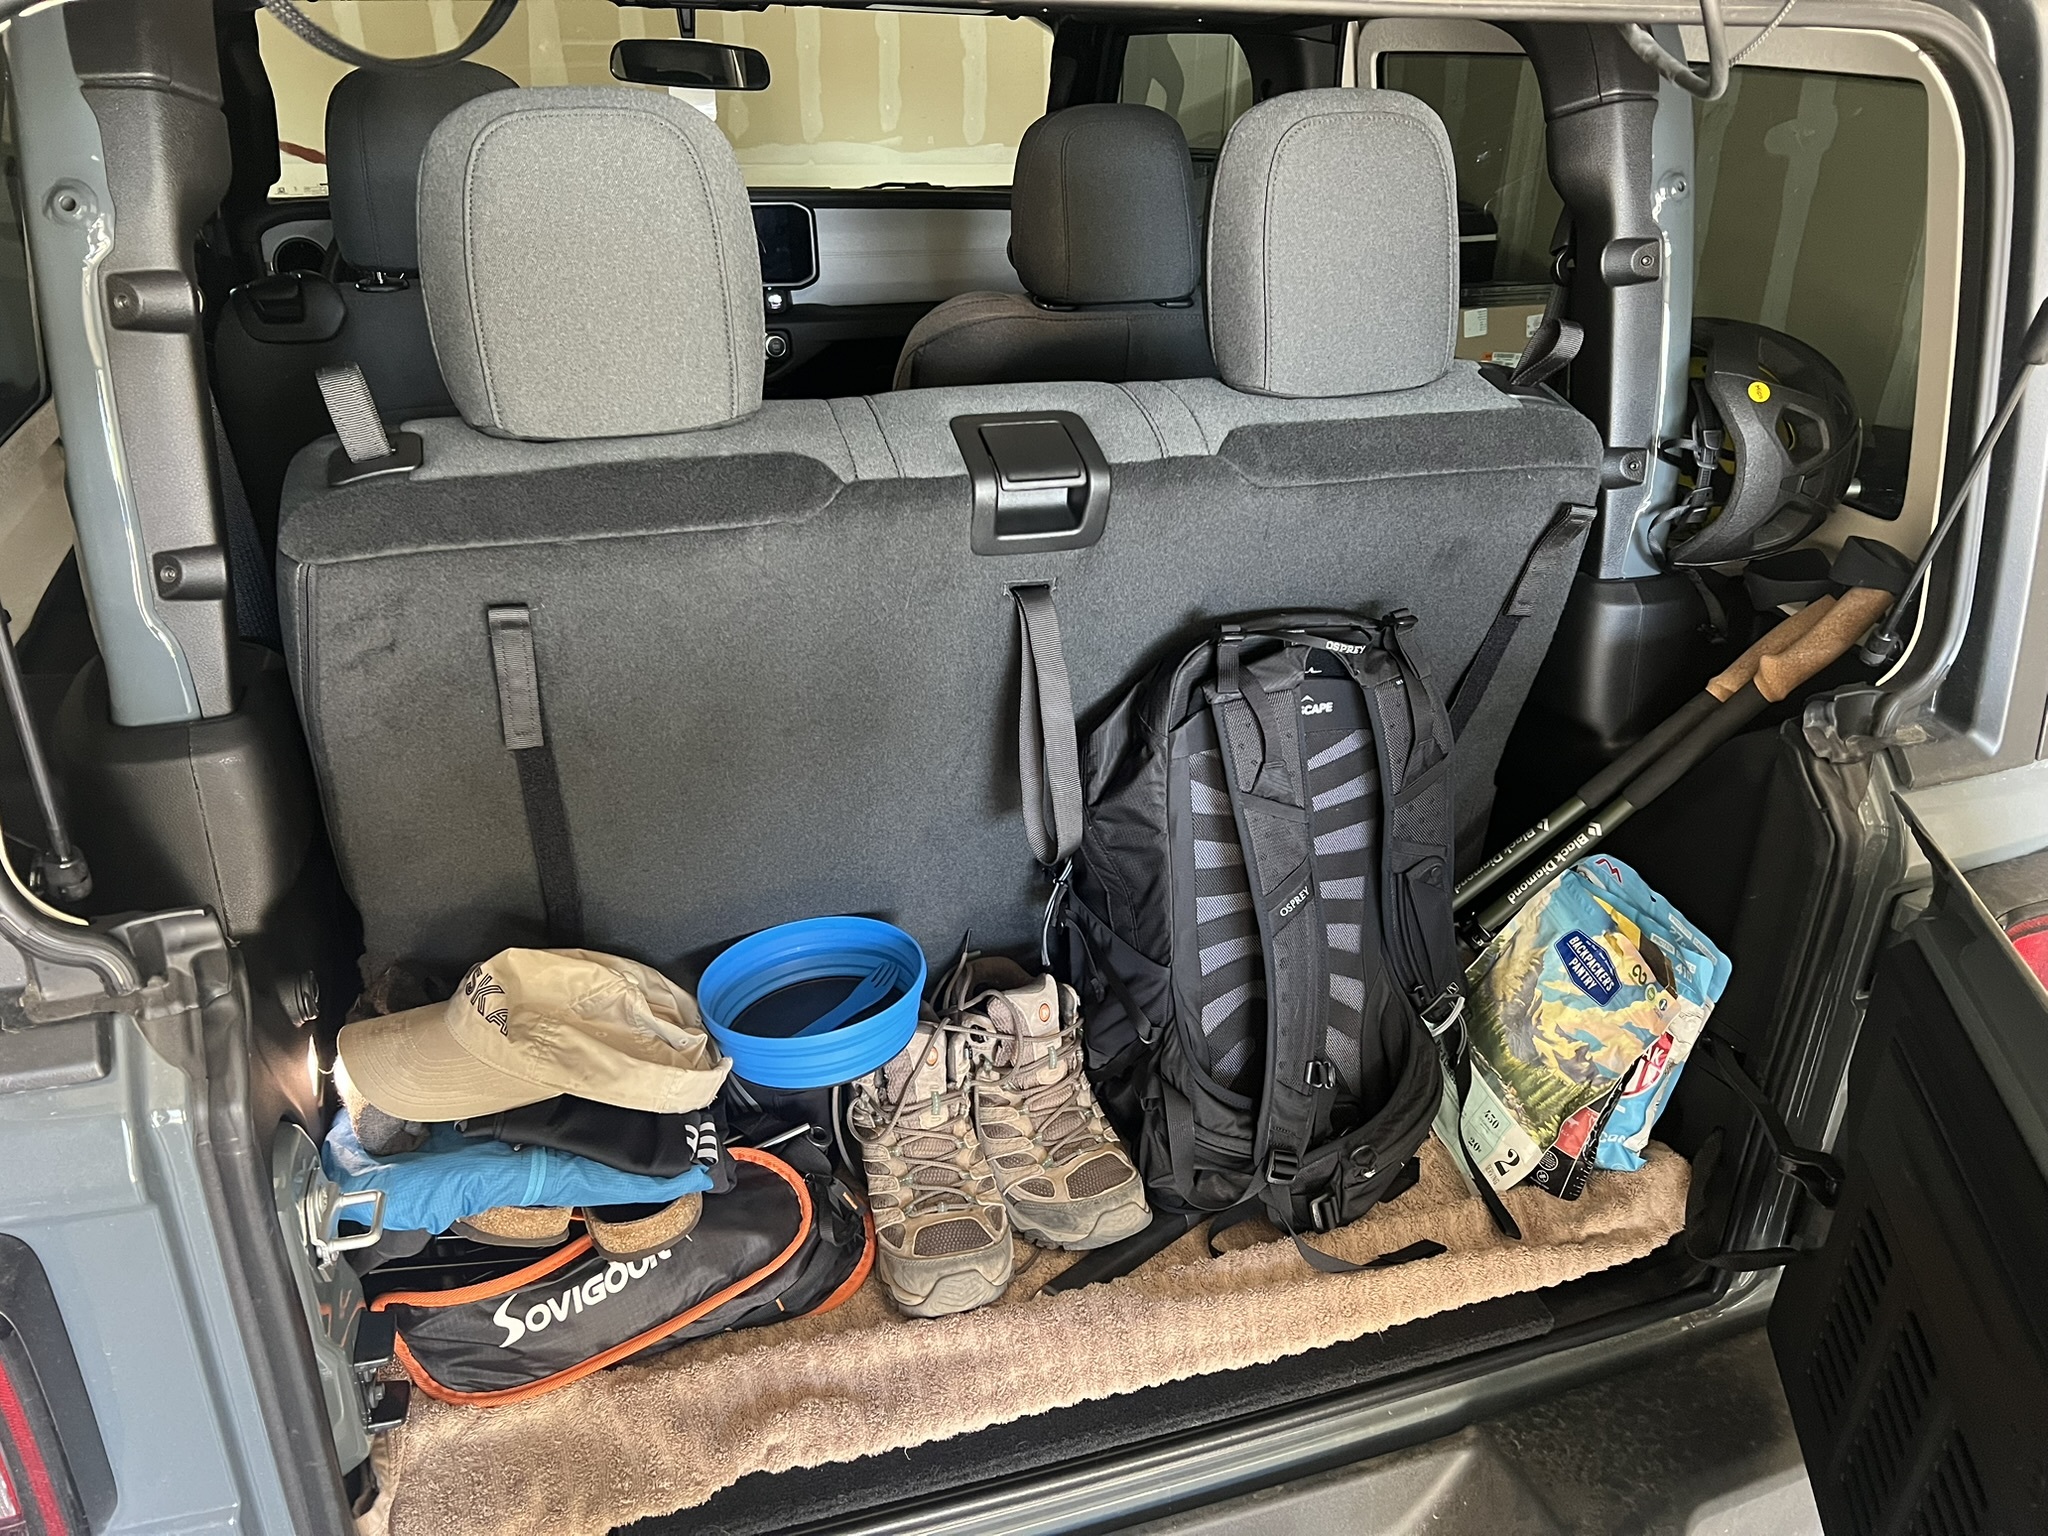
Exiting I-70, you're immedietaly greated with the lowertrail head and the offroad drive up to the uppertrail head. This road is pretty terrible, several parts that bottom out completely and is notorious for puncturing fuel tanks on vehicles. I would highly recommend having a 4WD vehicle or something with great clearance. Eagerly, I arrived at the uppertrail head around 4:15am, I was followed by a convoy of other vehicles looking to get a good spot and an early start. There were several individuals car camping in the uppertrail head which I am sure I gave them an unwanted early wake up with my 400 lumen headlamp.
I geared up and started on the standard route around 4:30am. The first bit of the standard route sends you through a valley that eventually gets you to the base of Grays and Torreys. There will be a very clear fork in the standard route, this divergance marks the start of the Kelso Ridge route.
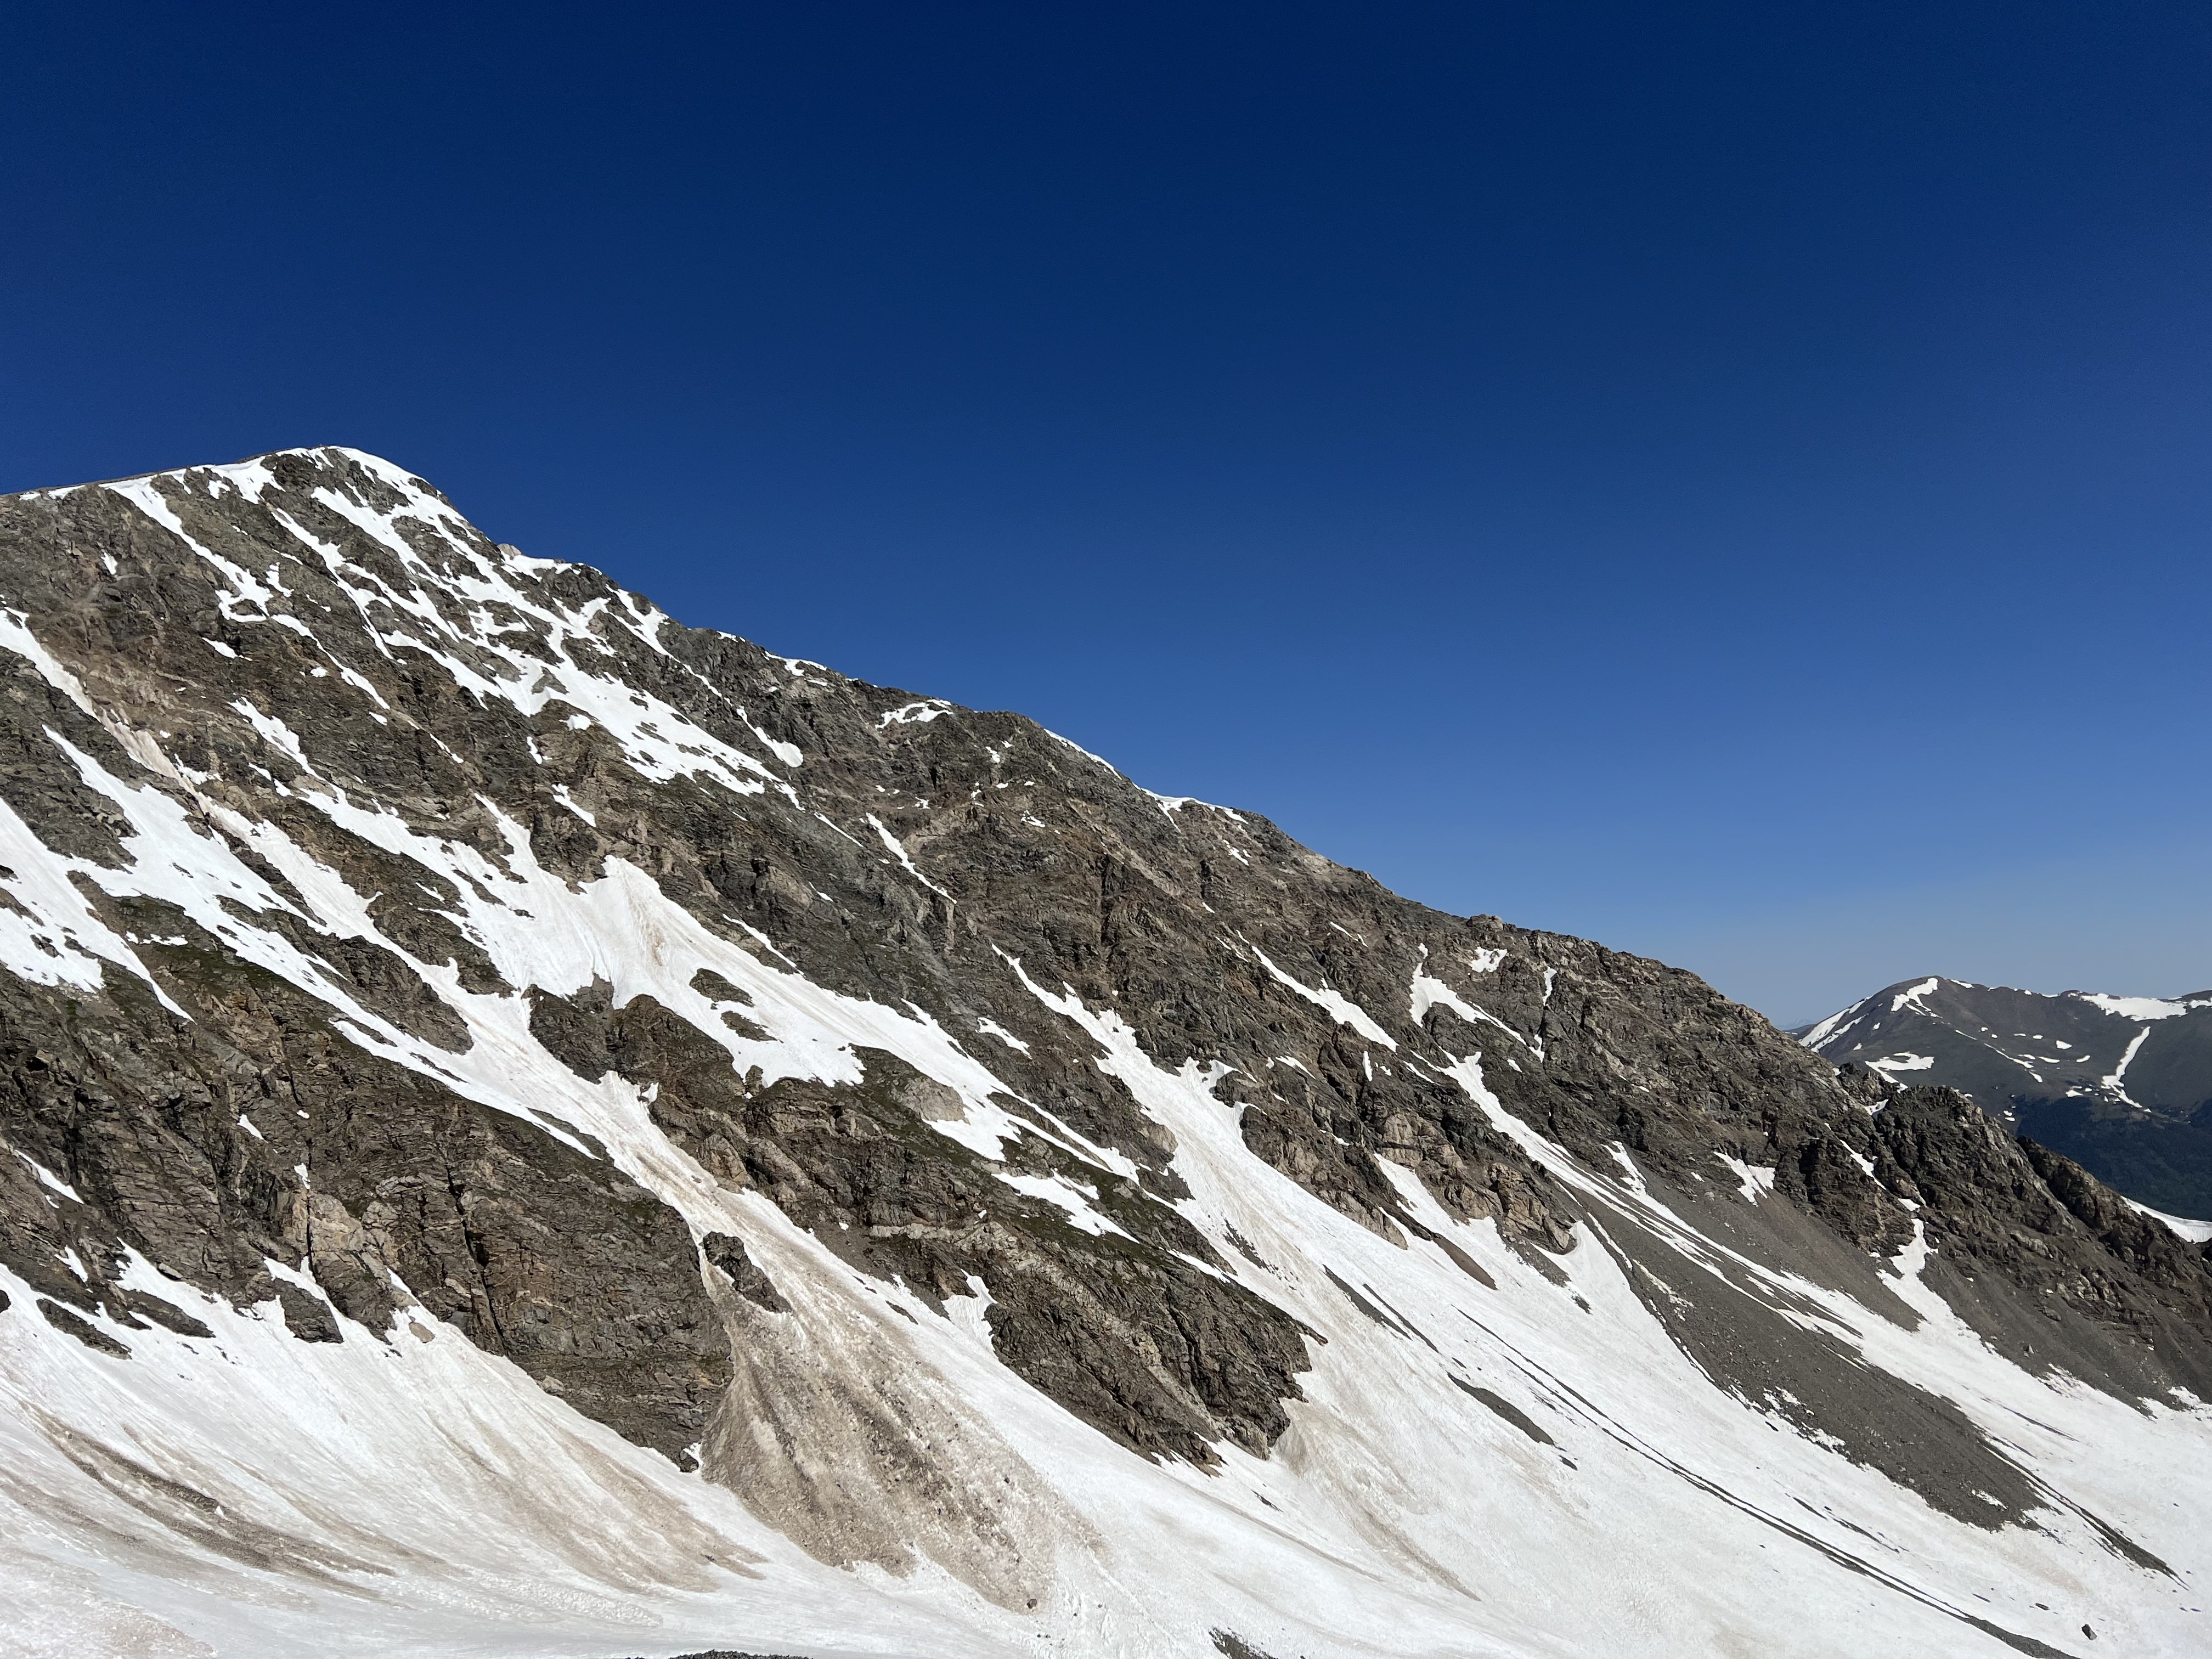
Arriving to the saddle and beginning the ridge
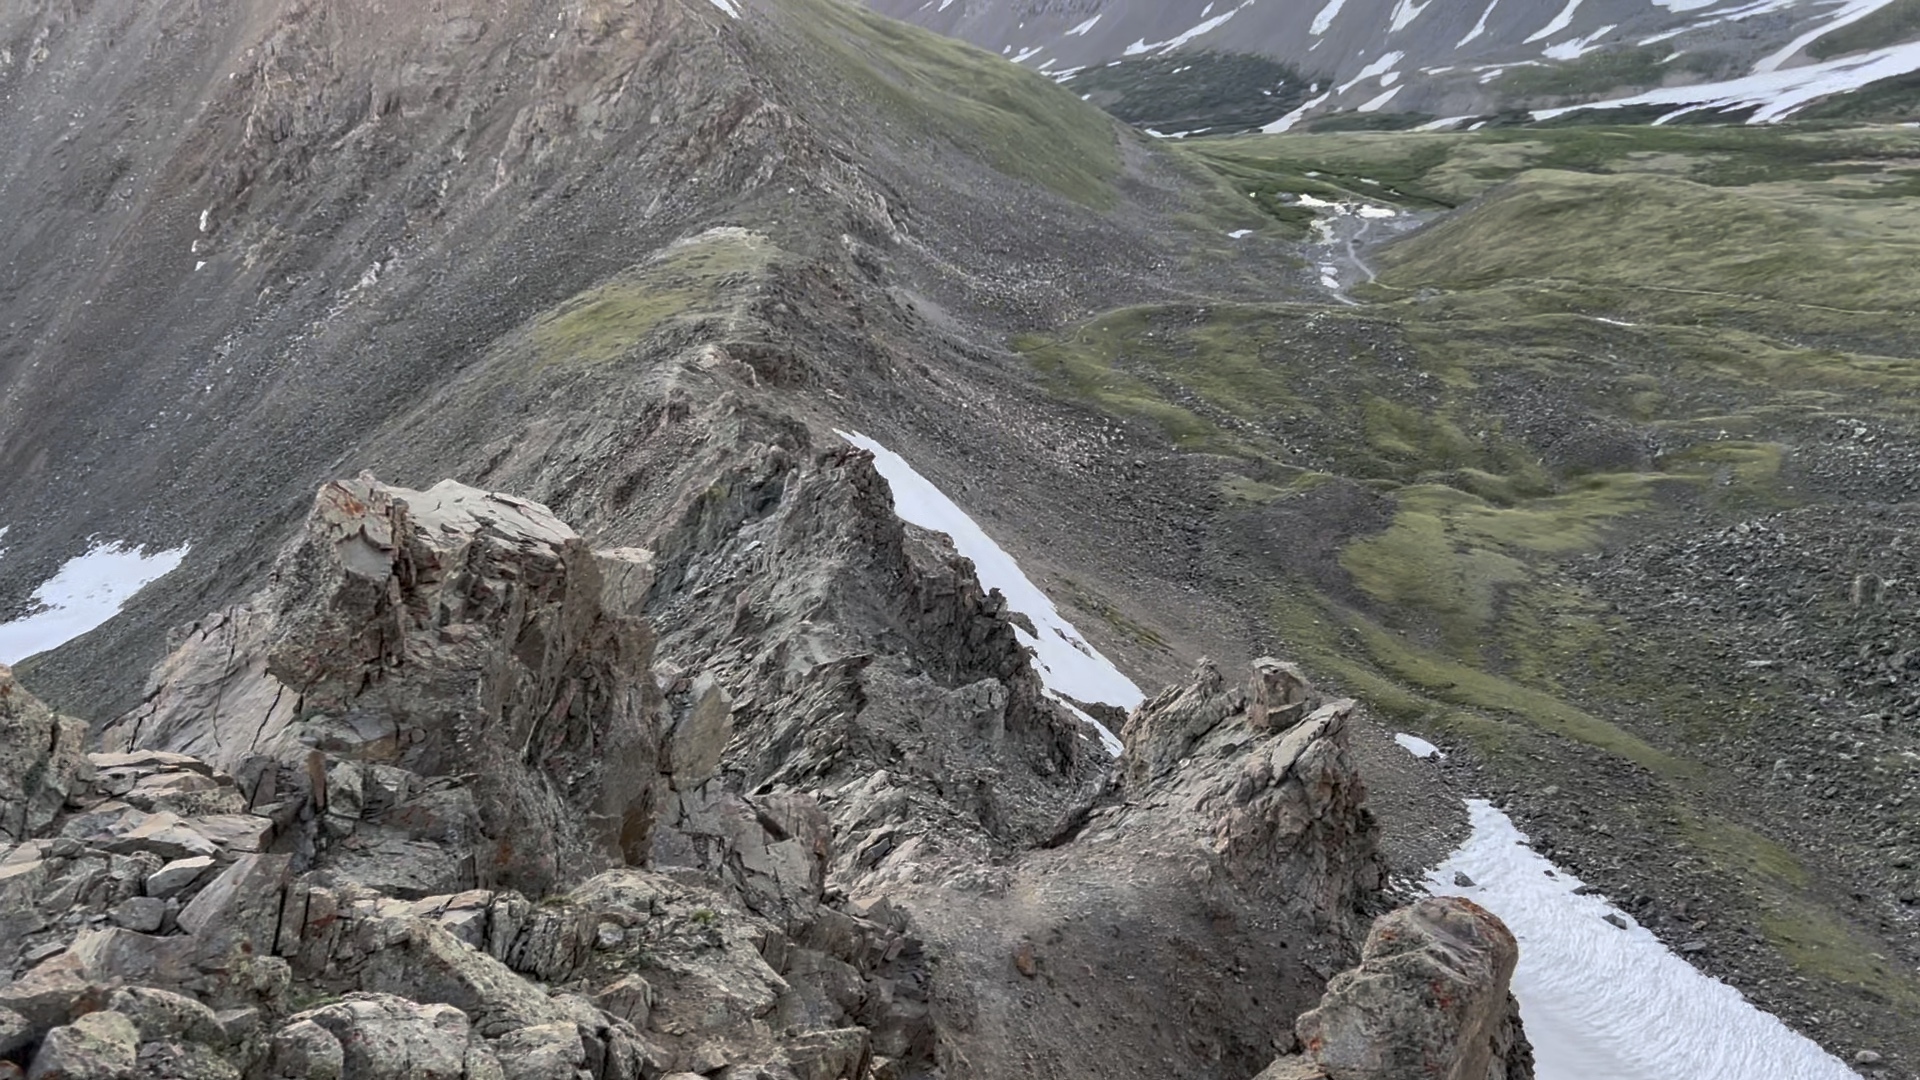
Upon reaching the saddle, the route is going to be class 2 and 3 from here on out. I took a break to helmet up and strap up my trekking poles and was on my way. The first part of the ridge is well marked with a pretty visible trail that you will follow until pretty much reaching the white rock, which is about halfway up the ridge. To my suprise, I didn't see anyone above me or below me, I was going to have the whole ridge to myself!
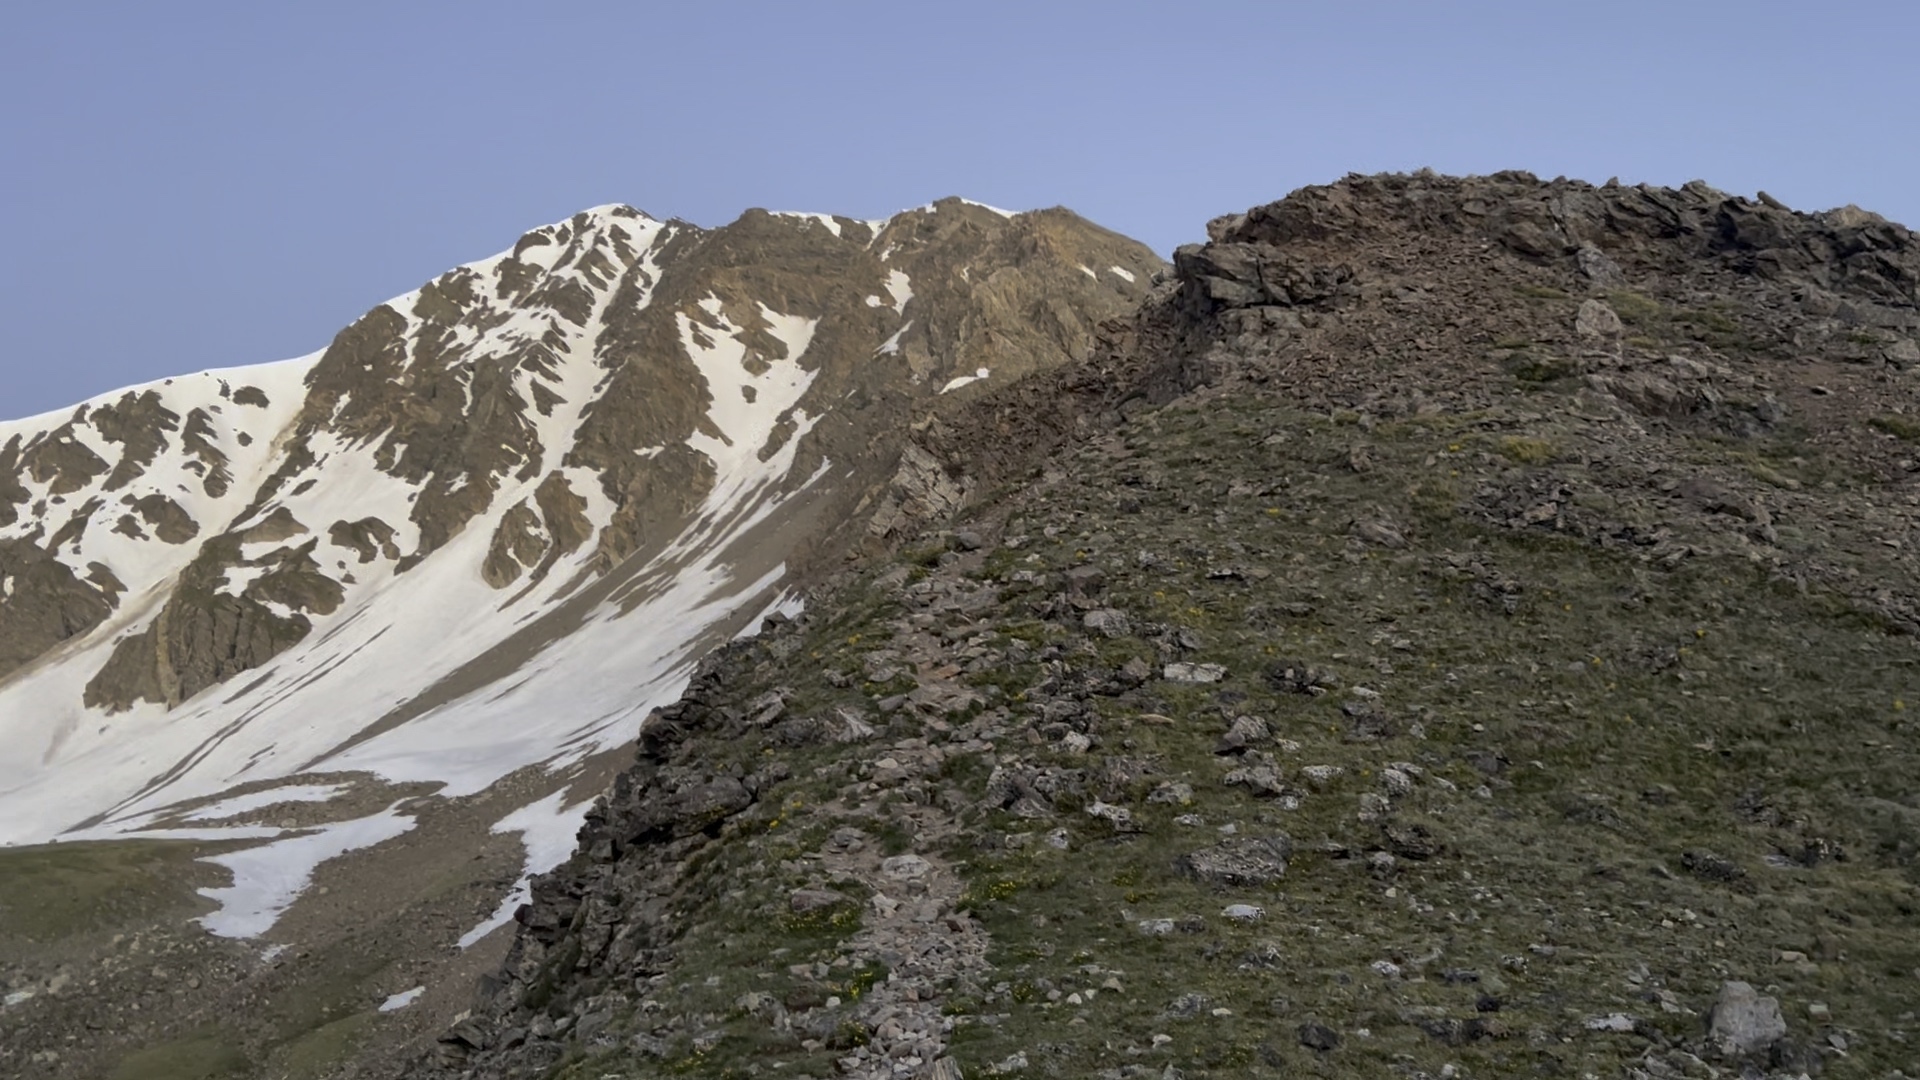
I was pretty stoked to be up there, so I was moving quickly as the terrain to begin was a lot of class 2 with occasional class 3 moves. Because it was early season, the snow patches dictated my approach and I ended up staying mostly ridge direct to avoid dealing with too much exposed snow patches.
Reaching the white rock and beginning harder terrain
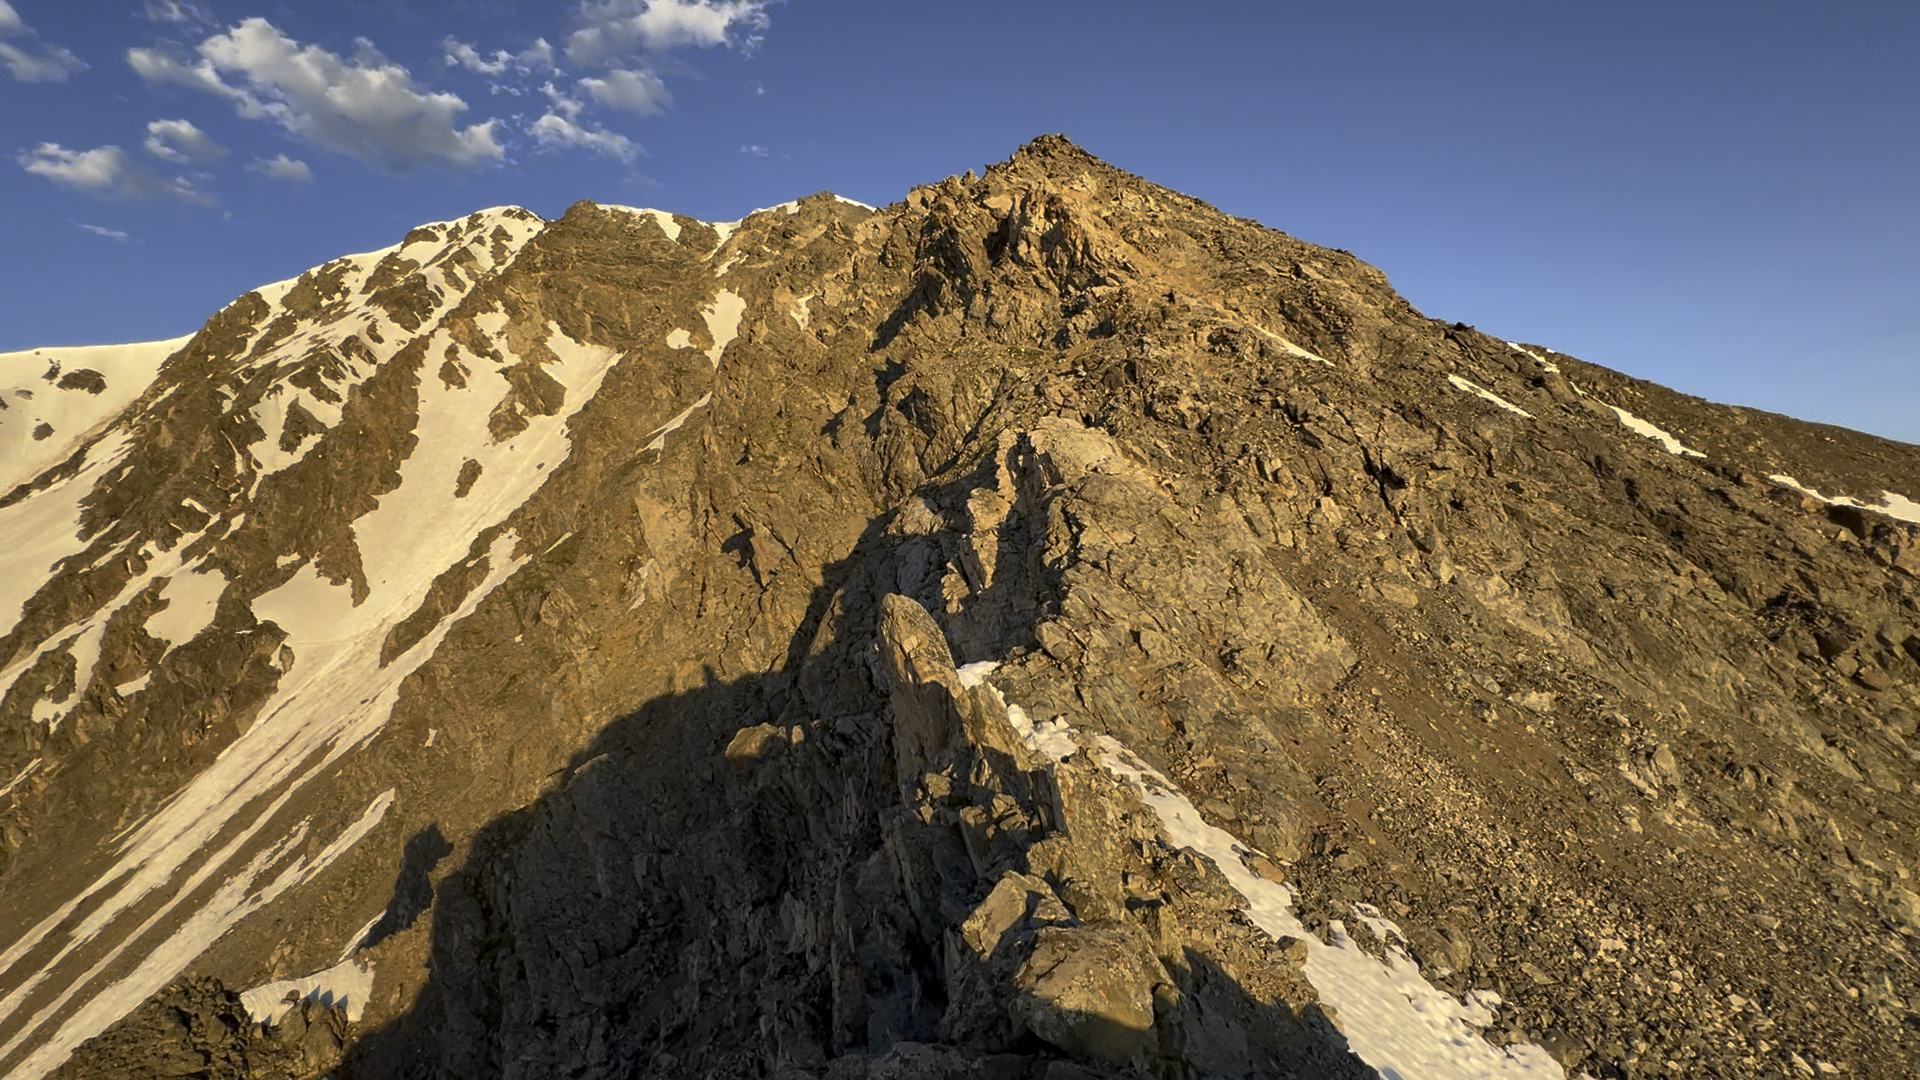
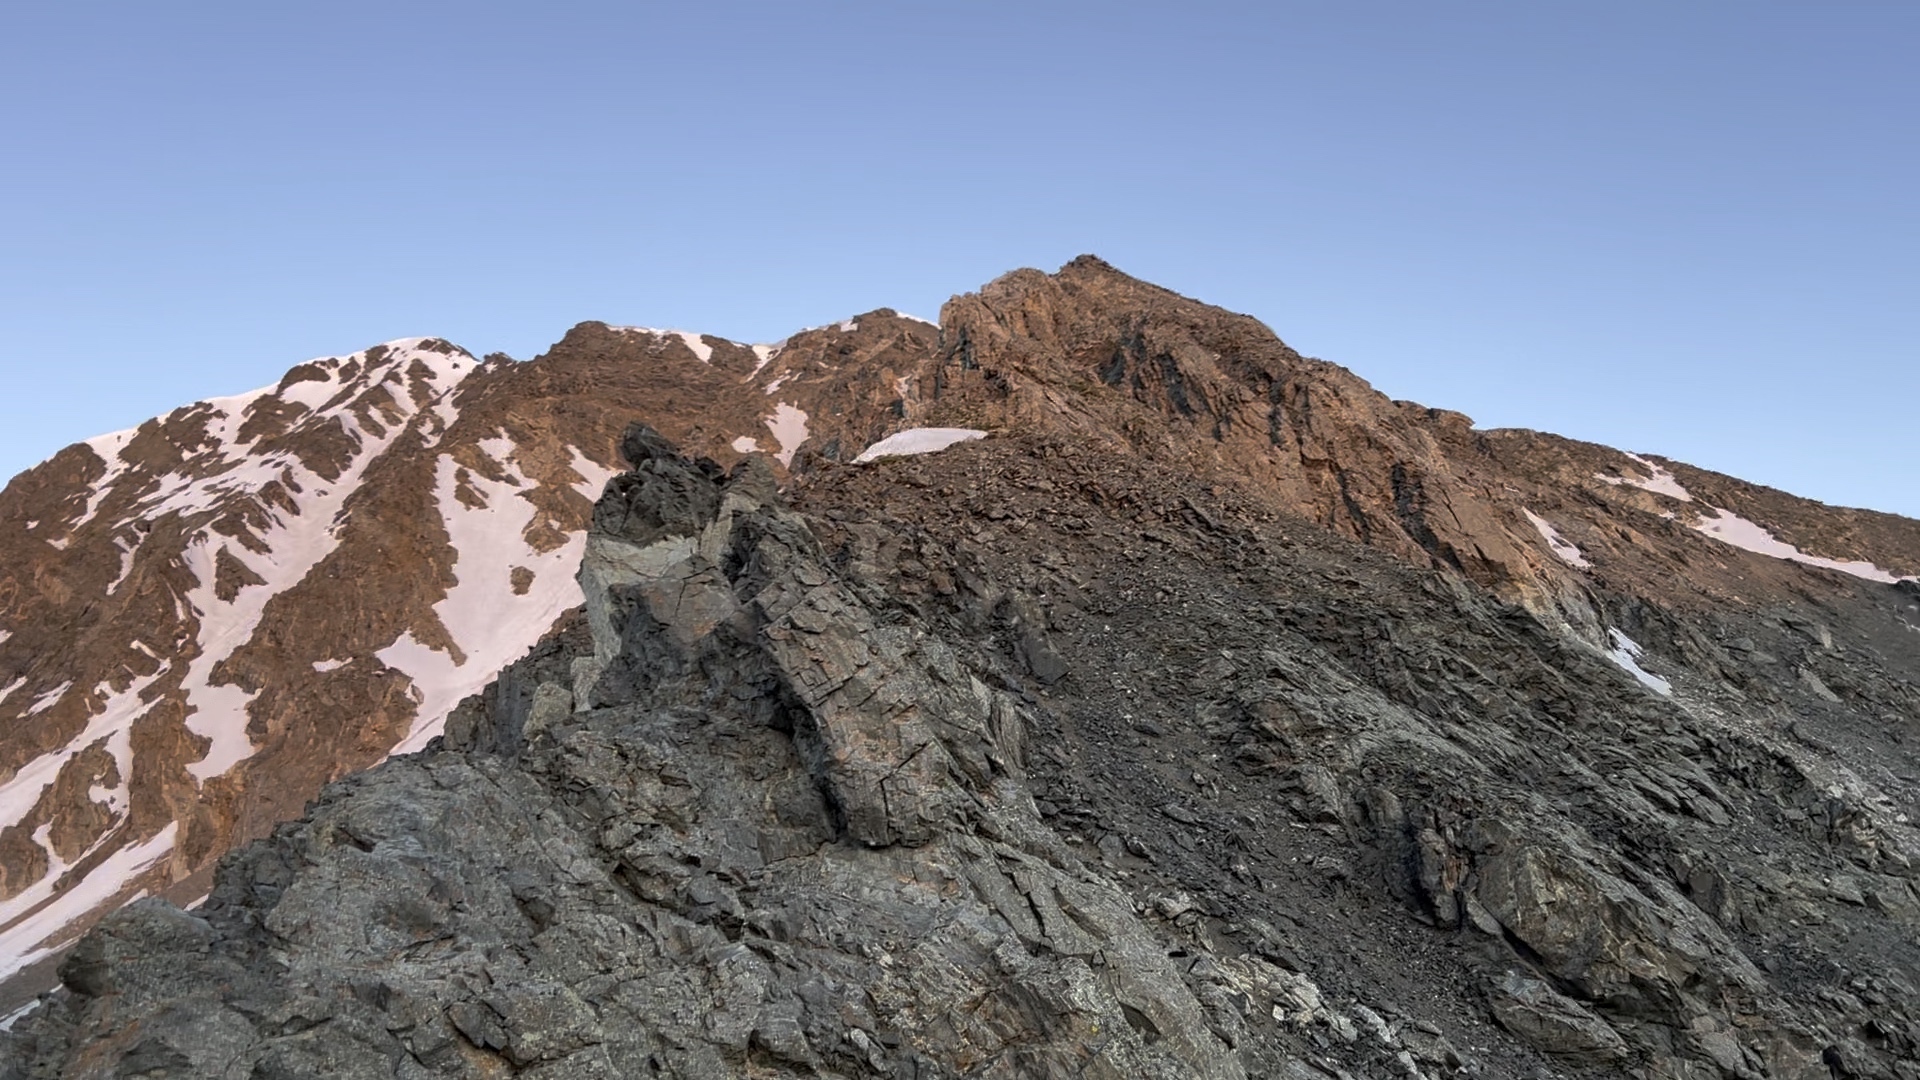
About halfway up the ridge, the route becomes a lot more technical to the summit. At this point, I spent more time planning my route up each section of the ridge. As I mentioned previously, I wanted to stay ridge direct, this ended up making the route slightly more difficult at times. I was thinking it would serve as good training to try to stay direct as much as possible.
Taking your time and making strong secure moves is important at this point, this section of the route is slow going and requires you to be strategic. The next section of the route is going to be the knifes edge, the crux of the route.
Approaching the knifes edge
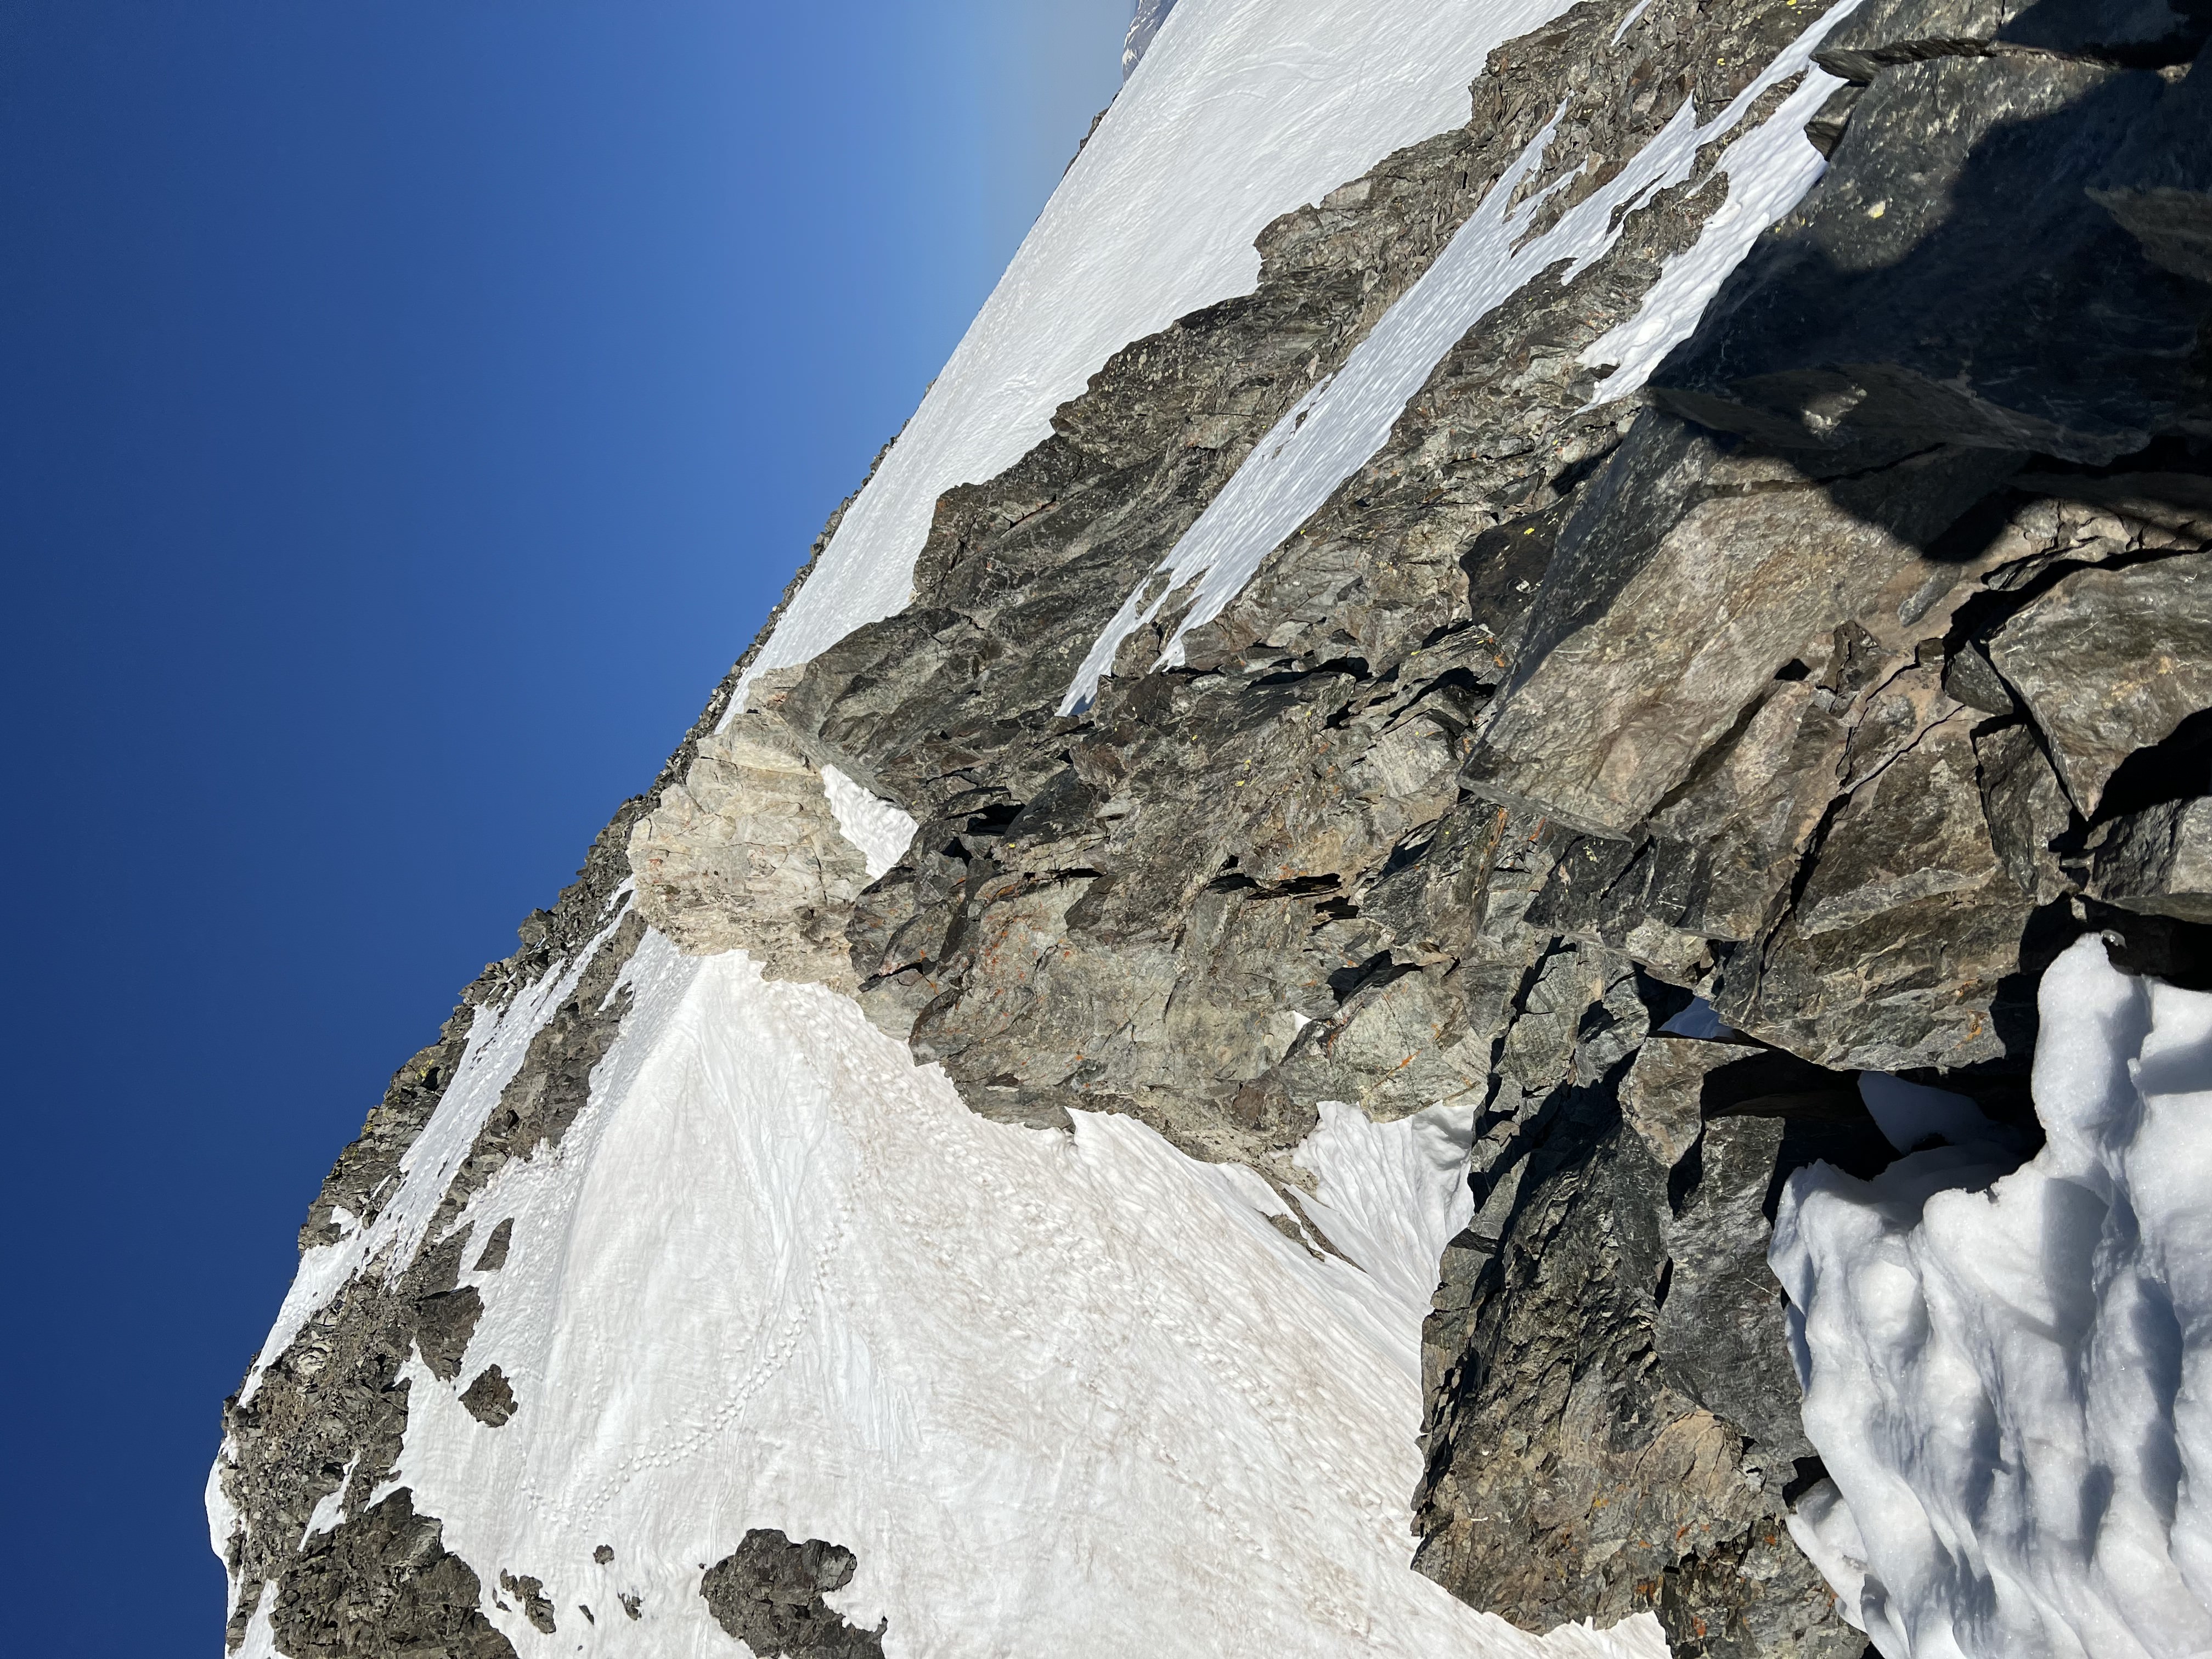
Famously, the knifes edge on Kelso Ridge offers a good deal of exposure and an introduction to knife edges on ridgelines. This was my first time taking one of these on and it was all smiles as I approach the crux, I was so excited. Because of the time of year, the snow lessened the exposure and even made it possible to take it from the snow patch if you prefered.
I ended up taking a break in the middle for some fruit snacks and enjoyed the exposure. To say I was having a blast would be an understatement.
Reaching the finishing couliour
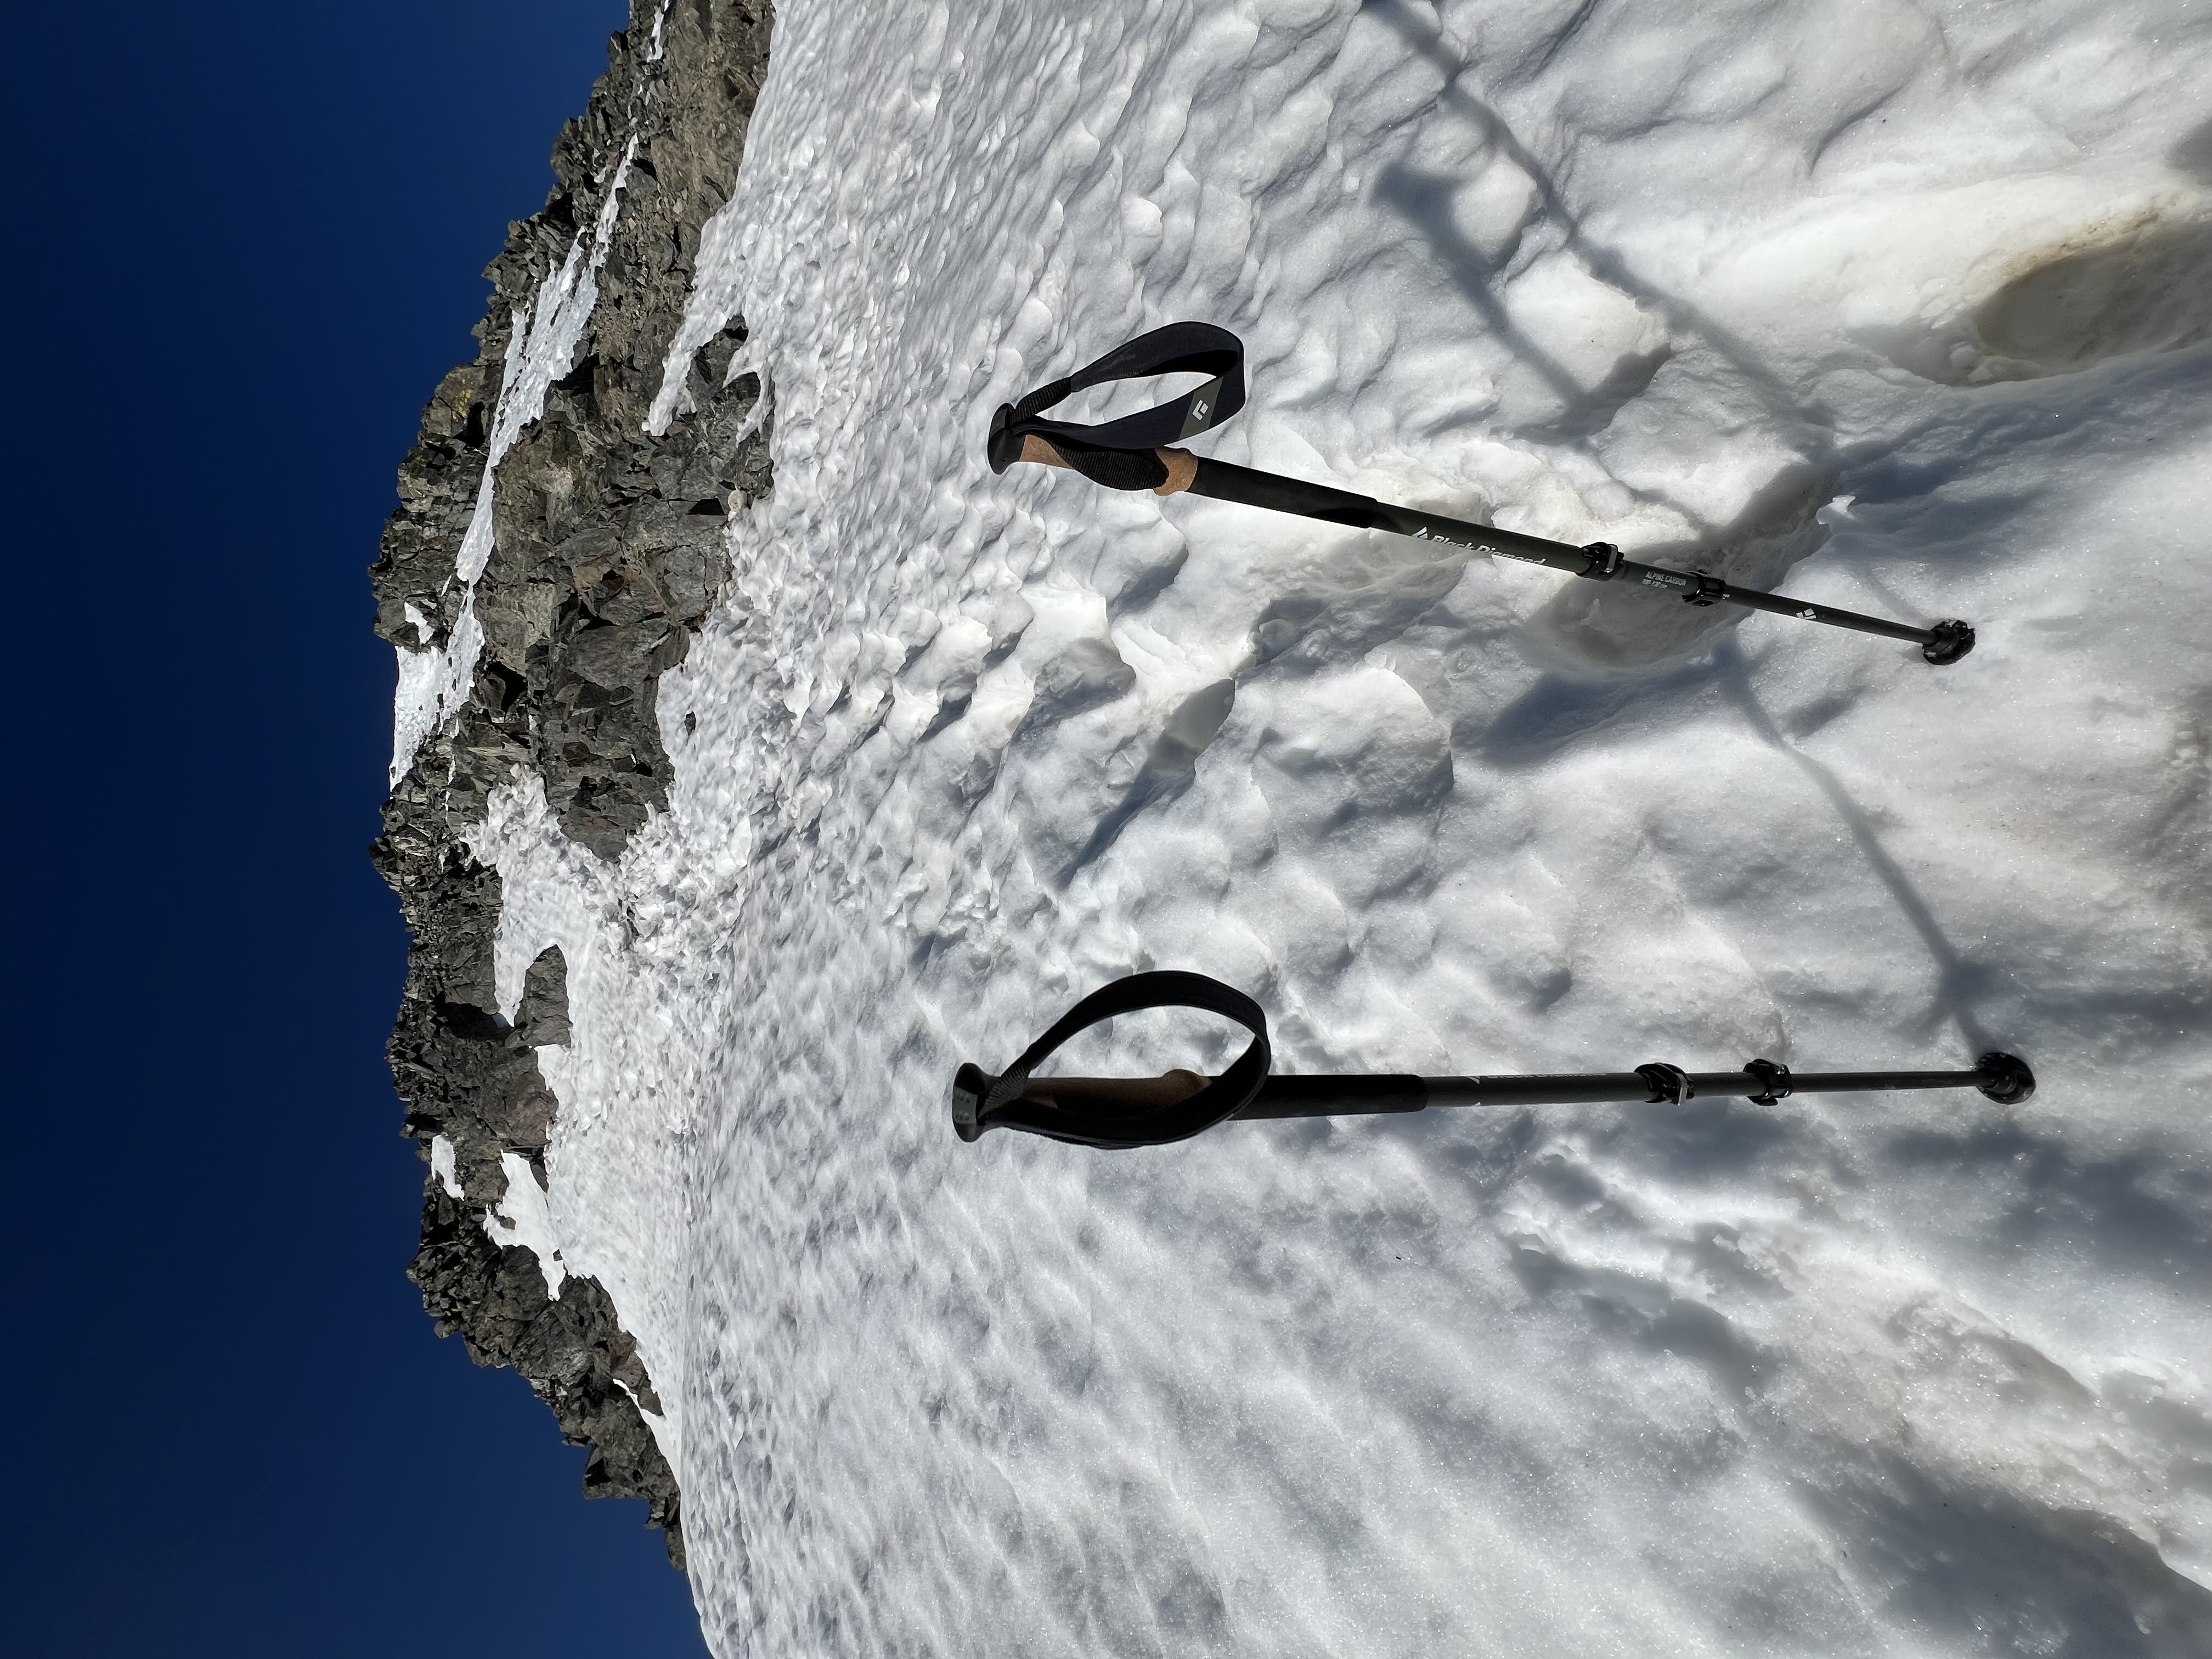
Once you are off the knifes edge, there is the final approach to the summit. In summer conditions, there is a marked trail up to the summit. When I was there, the approach was completely covered in snow. I was not necessarily prepared for this type of approach, but I made the best of it and it ended up being okay. I put on microspikes and pulled out the trekking poles for more stability climbing up. Slowly, the approach was behind me and I had made it to the top of Torreys Peak!
Right after the knifes edge, you will have your final approach to the summit. With full summer conditions, you will be able to follow a marked trail on the ground that will take you over class 2 terrain. Because of the time of year, there was snow coverage all the way to the top. For safety, I ended up throwing on microspikes and getting the trekking poles out for stability. Although it was steep and I could of used an ice axe, this was not that bad and I never felt insecure in my holds on the couliour.
Top of Torreys Peak
After dealing with that, I had reached Torreys Peak! Standing at 14,272ft (at the time of writing this) I was thrilled to have made it to the first summit of the day and to be off of the Kelso Ridge. From the top of Torreys Peak, the route will have you follow the standard route to the top of Grays Peak, then finally back down to the uppertrail head.
Connecting over to Grays Peak
From here on out, I took the standard route over to Greys Peak and eventually off the mountain. This was also the first point I had ran into any other people!
I had taken the peace and isolation for granted coming up the Kelso Ridge, from the top of Torreys Peak on, I was surrounded by people. Grays and Torreys are one of the most popular mountains in Colorado. It gets extremely packed with tourists and non-mountainer summits.
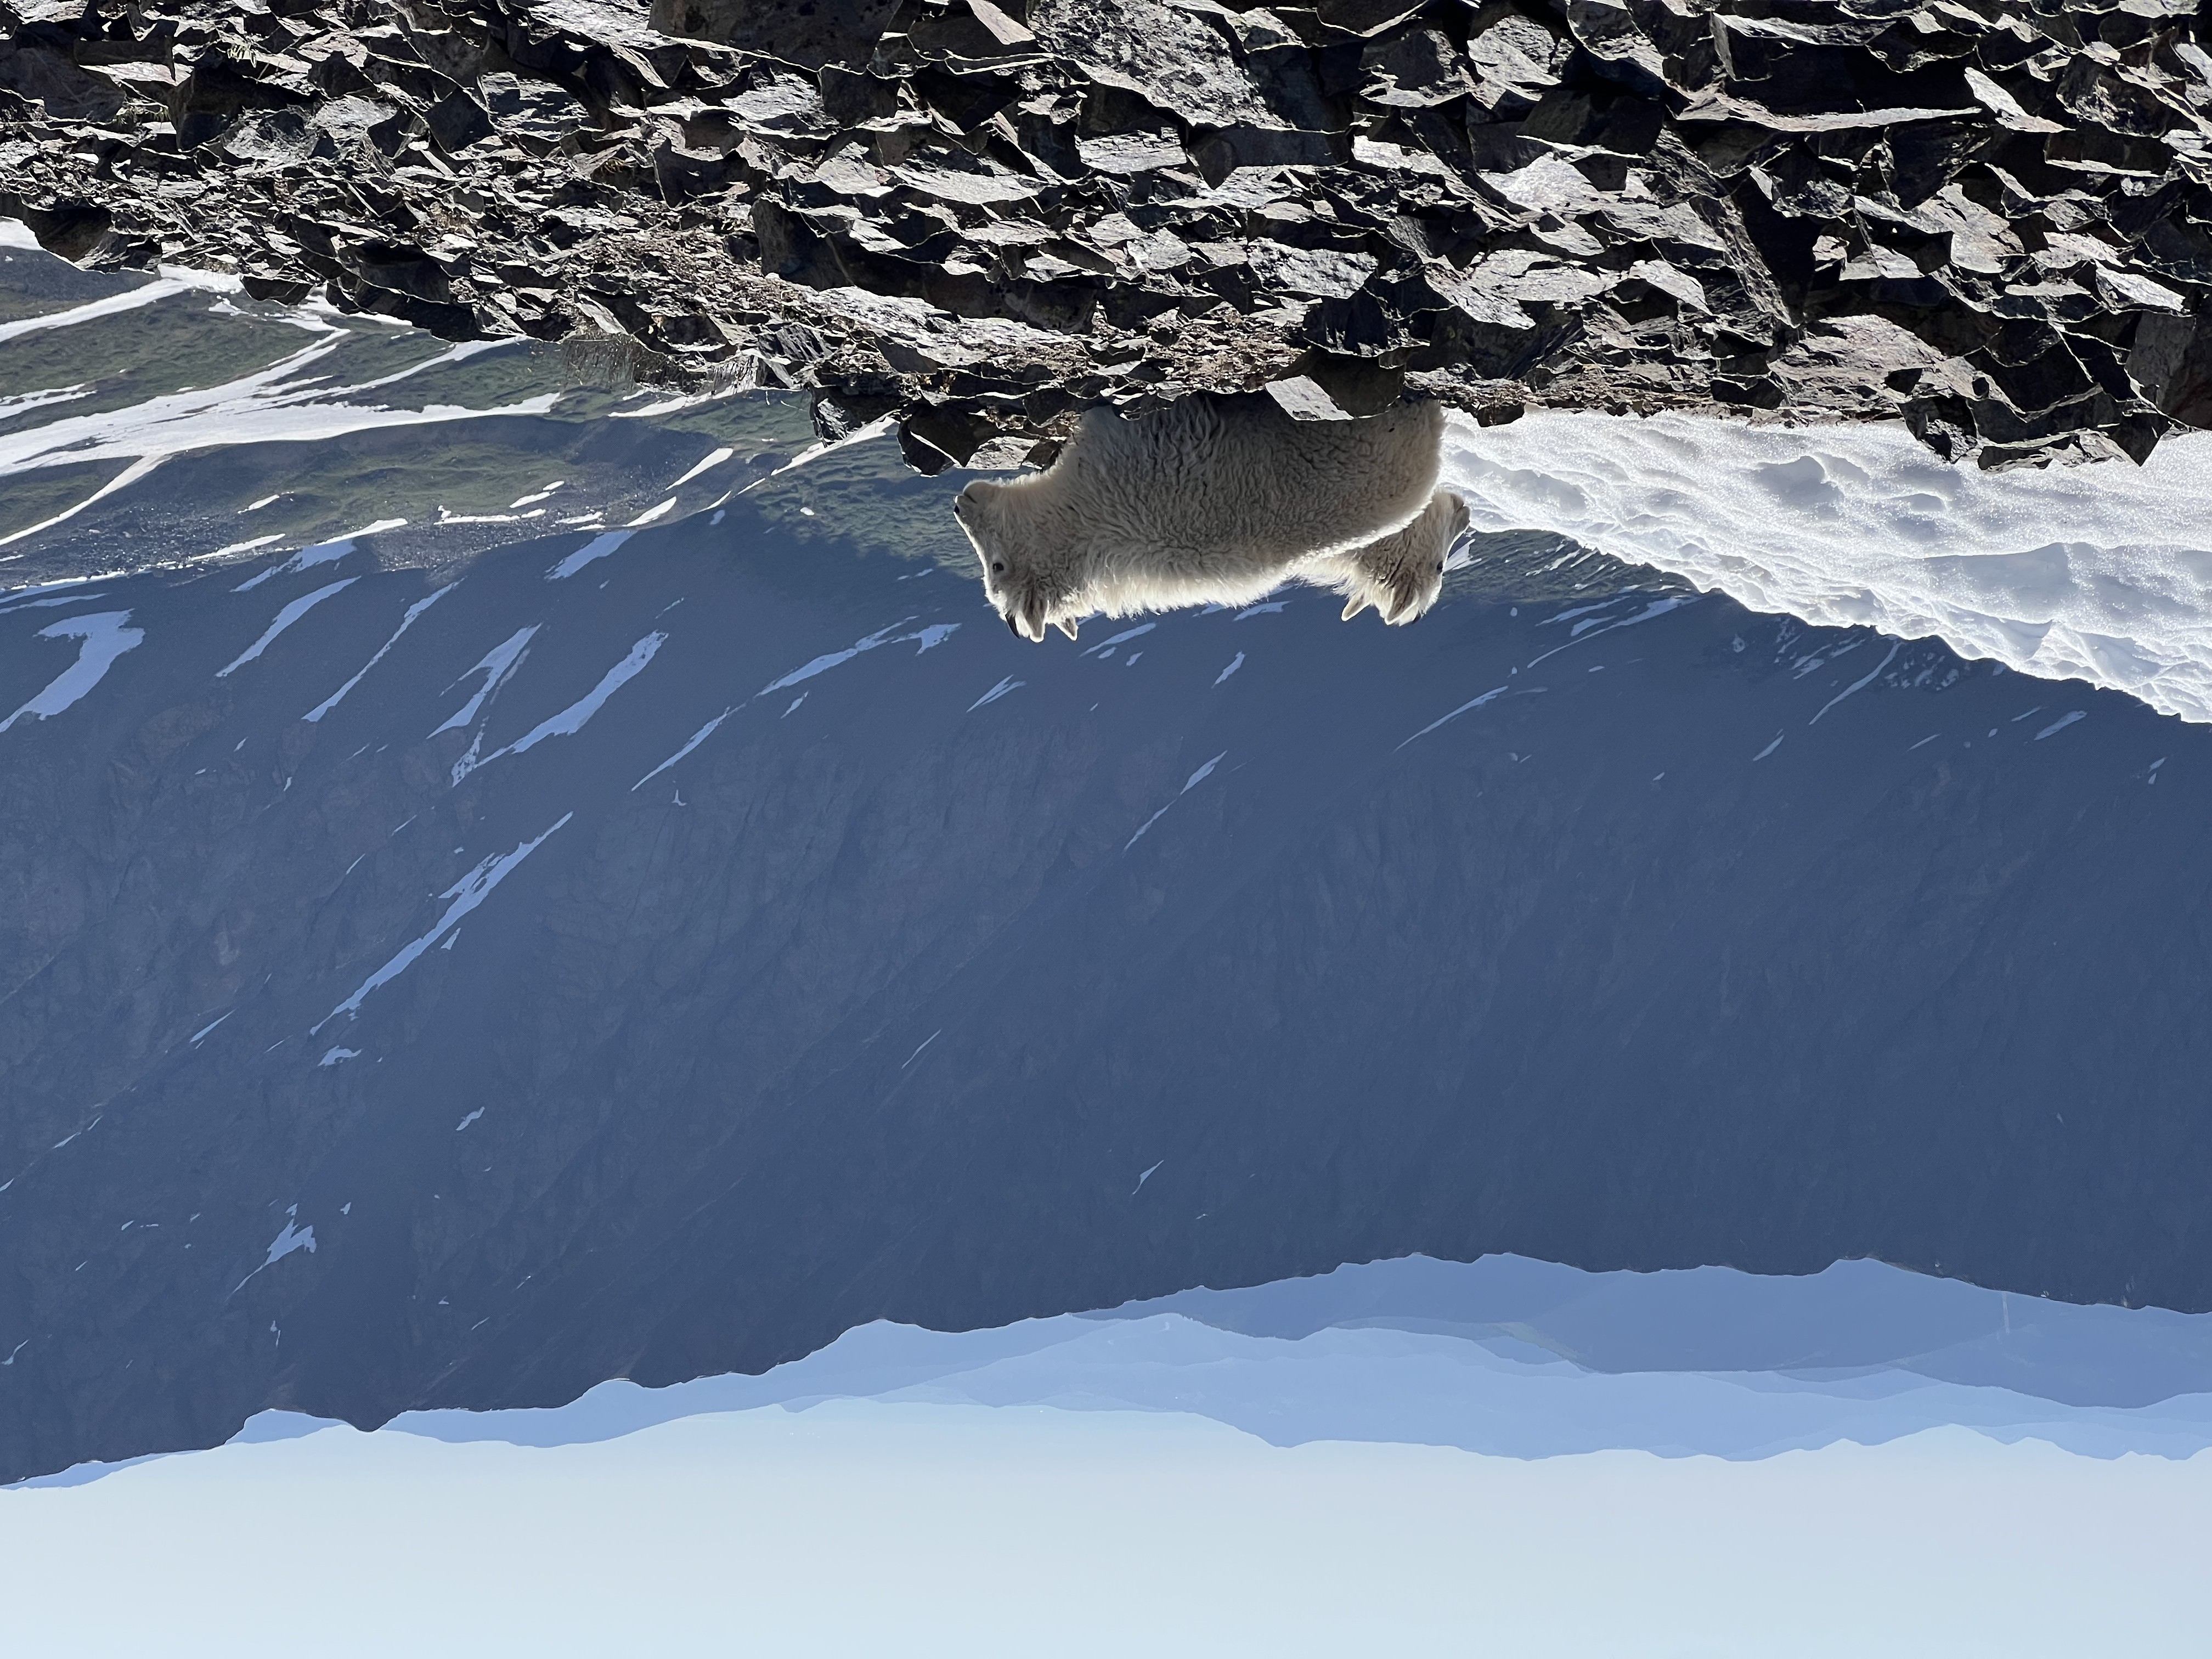
On the way over to Grays Peak, I encountered the other amenity that Grays and Torreys are known for... Mountain goats!!! This was my first mountaineering encounter with mountain goats and I was completely entranced by them. I spent sometime hanging out near them and admiring their audacity to live in such an environment.
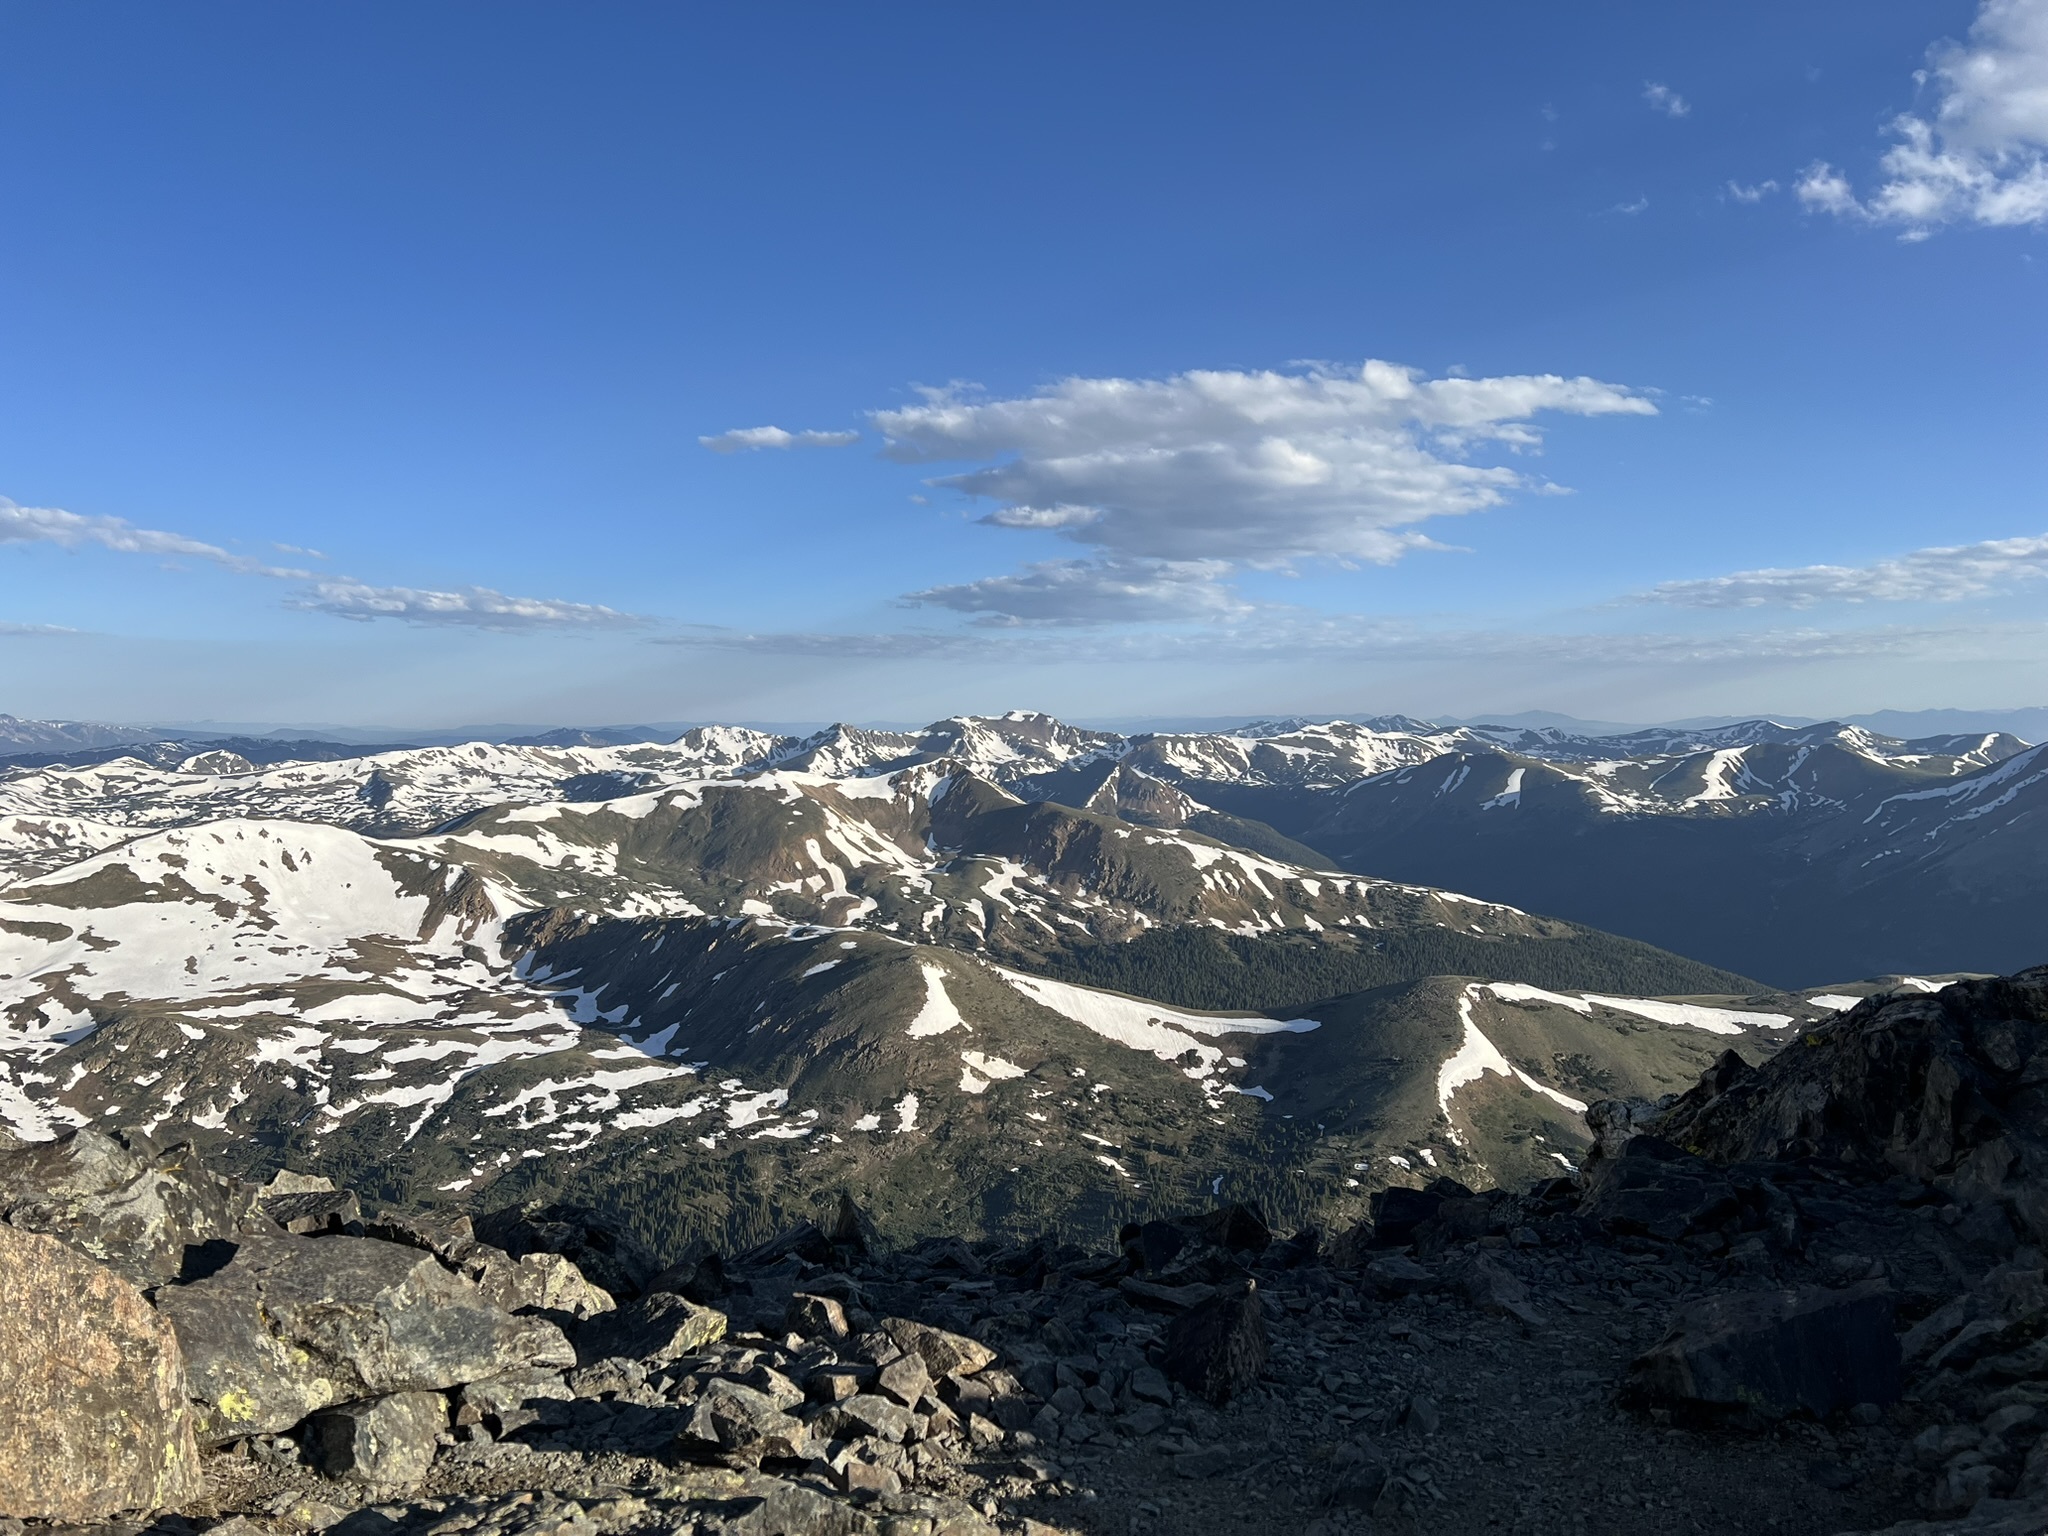
Summiting Grays Peak and descending via the Standard route
I had hustled up the final elevation gain of the day to end my suffering. Upon reaching the top of Grays peak (14,278ft), I was pretty exhausted and ready to begin the descent back to the car. I had taken a picture as evidence of me summiting Grays Peak and quickly began heading down. I think one of the coolest aspects of these two peaks is the amount of 14ers you can make out from the summit. Using the PeakVisor app, I was able to identify so many 14ers and 13ers that I had done or planned on doing in the near future around me.
About half way down Greys Peak I began to feel the exhaustion immensly. There is nothing difficult about the decsent on the standard route that is difficult, I was just tired from the two peaks. Eventually, I made it back down to the normal hiking trail and trekked back to the trailhead. Once I made it back to my car, I fired up the jetboil and ate an MRE and enjoyed the view!
Thoughts and Conclusion
The kelso ridge is absolulety worth anyones time looking to get into mountaineering or more difficult 14ers. There are so many resources online to keep you on route and give you enough confidence to take this on. I had watched and read Virtual Sherpa's guide and read the route description provided by 14ers.com. Highly recommend this route to anyone looking for a challenge!